Downloading the Report Designer
To modify the standard report templates, you must download the Report Designer. The report designer allows you to change fields and labels displayed on the reports, as well as the basic layout of the interim progress report, report card, and transcript.
Display one of the view setup pages:
To display the Progress View Setup page, select Administration > Mark Reporting Setup > View Setup > Progress View Setup from the menu. On the search page, select a progress view to display.
To display the Report Card View Setup page, select Administration > Mark Reporting Setup > View Setup > Report Card View Setup from the menu. On the search page, select one of the report card views defined as a View Type of R - Report Card Type.
To display the Transcript View Setup page, select Administration > Mark Reporting Setup > View Setup > Transcript View Setup from the menu. On the search page, select one of the transcript views defined as a View Type of T - Transcript.
On the View Definition panel, click

(Options), then select Download Template Editor.
After the file is downloaded in your browser, open the file.
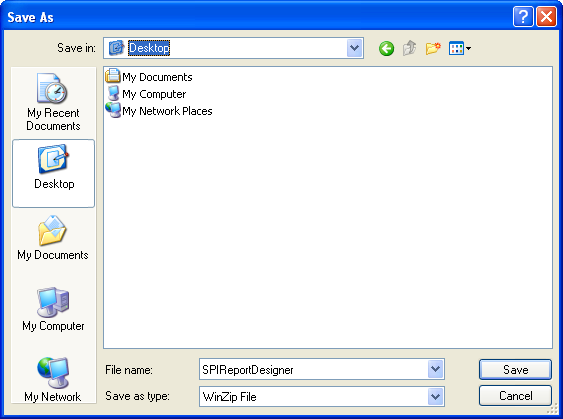
On the Save As window, select a location where you want to store the win- zip files for the setup.exe and click Save.
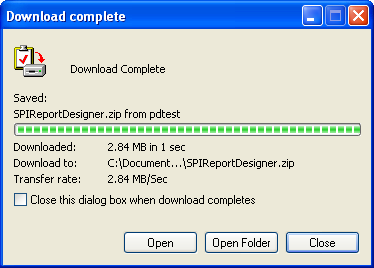
On the Download Complete window, click Open.
Follow the prompts to open the zip file.
Double-click on setup.exe.
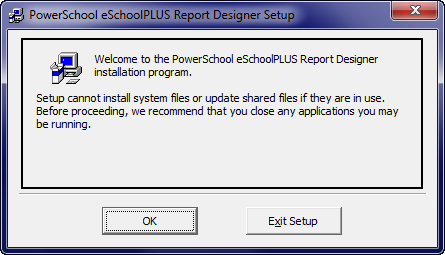
On the PowerSchool eSchoolPLUS Report Designer Setup window, click OK.
On the next window, click

to install the report designer in the default location.
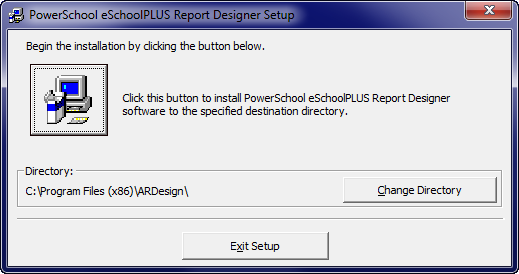
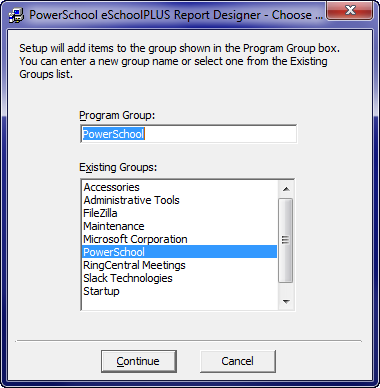
Otherwise, click Change Directory to select a different location. When you are satisfied with the location, click the install button.On the program group window, click Continue to accept the default pro- gram group.
Click OK on the successful completion message window.
