There are two ways to edit the district/site information in a record on the District List Tab:
-
Directly in the grid (if the Edit – Edit District List in Grid View option is checked). When the "edit" (checked) mode is active, the fields you can edit directly in the grid are limited to the following: Display Order, Site Code, Sub Site, State, DB Identifier, and DSN.
-
Using the District Information window (if the Edit – Edit District List in Grid View option is unchecked). When the "default" (unchecked) mode is active, you can edit all of the fields using the District Information window (you cannot edit any fields directly in the grid in the default mode).
You can press <Ctrl +G> to toggle between modes.
To edit information in the grid view
-
Make sure the option to edit the district list in grid view is selected (there should be a checkmark next to the Edit – Edit District List in Grid View option).
-
You can use <Ctrl+G> to toggle between modes.
-
-
On the District List tab, click the

-
You can edit any of the following fields directly in the grid: Display Order, Site Code, Sub Site, State, DB Identifier, and DSN.
-
To edit information in the District Information window
-
Make sure the option to edit the district list in grid view is not selected (there should be no checkmark next to the Edit – Edit District List in Grid View option).
-
You can use <Ctrl+G> to toggle between modes.
-
-
On the District List tab, click the row containing the district information you want to edit. The District Information window displays.
-
Whatever field you click on in the row will be the field that will initially receive focus in the District Information window when it opens.
-
For field descriptions, refer to the District Information Window.
-
-
After you finish making changes, click OK to save the updated information.
To add a new district record
Follow the procedure in Add a New Database Record.
To delete a district record
-
Select a row, and then press the <Delete> key on your keyboard. A dialog window displays for you to confirm that you want to delete the selected rows.
-
You can select multiple rows by pressing and holding the <Ctrl> key when you select rows.
-
-
To delete the selected row(s), click Yes in the confirmation dialog.
-
You will be prompted to confirm whether you want to delete the DSNs that were associated with the selected row(s). Typically, you will want to delete the DSNs.
-
If you delete the DSNs, the ODBC connection will be deleted from the server in addition to the database being removed from the configuration.
-
-
To delete the DSNs associated with the selected row(s), click Yes.
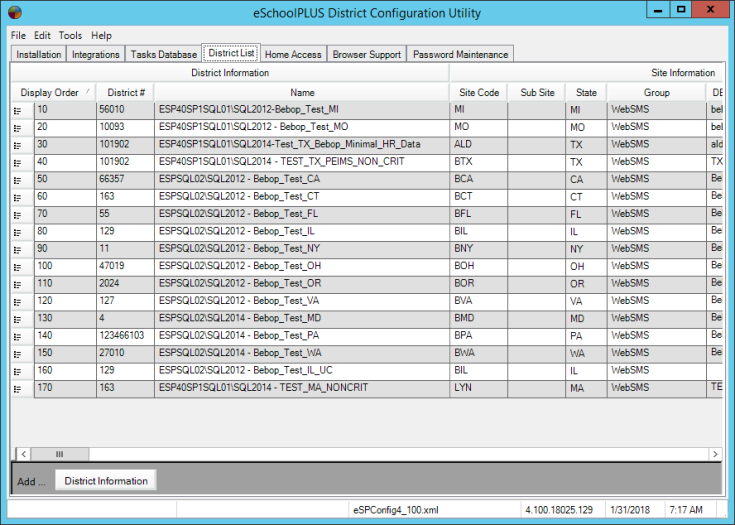
Sample District List Tab - Edit Mode (Edit District List in Grid View)
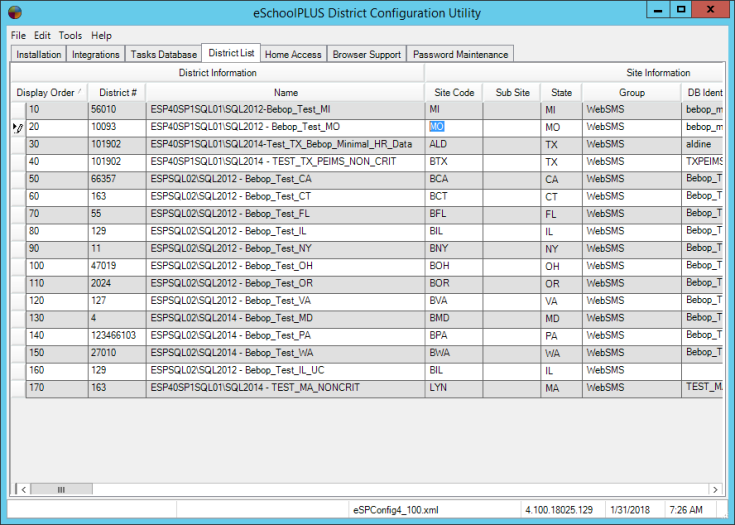
Sample District List Tab - Default Mode